After long time I have decided to write an article again. Hopefully they will be useful for you. Today I want to write about one of a very useful feature in SQL Server which is Import/Export. This functionality is very useful when you have any kind of structured data and you need to push it to your SQL server databases or on any situation that you need to share your data from SQL Server databases with specific format to others. The SQL Server Import Export wizard is based on SQL Server Integration Service (SSIS) but it is very simple and you do not need to have any experience with SSIS to use it. In below I am going to share how you can use SQL Server Import Export via SQL Server Management Studio.
Import Wizard: For this case we are going to push ImportSample.csv file to our CodingTips_DB database. This database has “tbl_ImportExport” table for this purpose.
If you need any help to create database or table you can find useful information in previous articles. Create Database Create Table
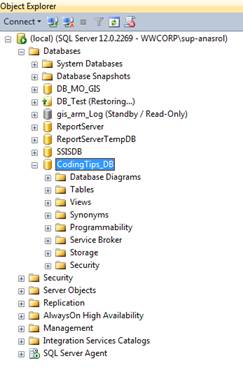
Step 1: First of all you must connect to database server and select database.
Step 2: Right click on the database and select Import option under Tasks.

Step 3: Click Next button on the first page.

Step 4: Choose a Data Source page is provides variety of different data sources which can be selected to import data from SQL Server, Microsoft Excel, Flat File and etc. Based on data or file that you want to import to your database you can choose one of the available data sources from the list. For our scenario we must select Flat File Source from drop-down list box as shows in below picture because we have a csv file to import to our database. You can use Brows button to find your file. After that all columns are available in Columns tab to check. In Advanced tab you can change length of columns or data type and etc. Preview tab contains sample of data to check.
Column name in the first data row option must checked if your file has column name in first row.
Text qualifier text box must be populated by relevant character if the data in file a rounded by specific character like double or single quotes.


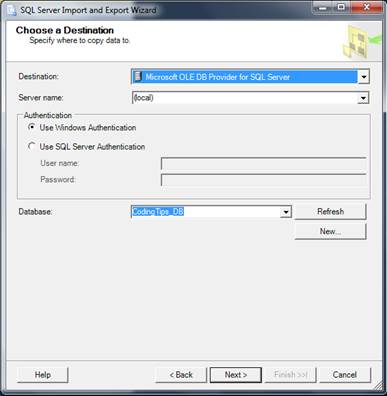
Step 5: Choose a Destination page provides variety of destination same as source. In our scenario we choose “Microsoft OLE DB Provider for SQL Server” and enter necessary information to connect to our database server. After that select the database from drop-down list.
Step 6: In this step destination table must be selected otherwise the new table will be created by wizard based on the information provided by you and source file data attributes. Edit Mappings window provides some more information and options to make sure mappings, data types and length of columns are correct. Furthermore you are able to select more options in this page to control your destination tables behavior.


Step 7: In Review Data Type Mapping page you can control the wizard behavior in case of any error. You are able to fail execution in case of error or truncation. All below warnings are related to type mismatch in our scenario, If wizard will not convert them automatically or you could not fix them by changing data types in previous step you must save the wizard as a SSIS package in next step and manipulate the package via data tool.

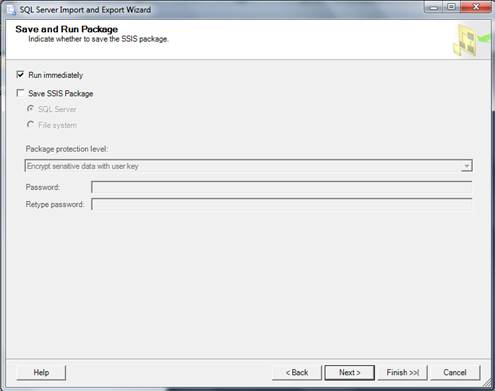
Step 8: In this page you can run your wizard immediately or save it as SSIS package and manipulate it in data tool.
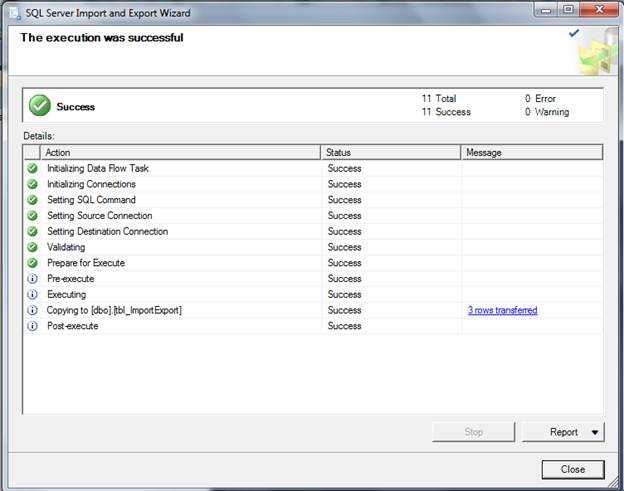
Step 9: Finally, you can get the execution report in this page.